
#Izenda Web Forms Kit Integration Guide
##About
IF UPGRADING: Please be sure to follow our upgrade best practices: http://wiki.izenda.us/FAQ/Izenda-Update-Best-Practices
This guide is designed to instruct first-time users how to integrate Izenda with simple Web Forms application. This guide will use Izenda Web Forms C# kit and a simple Web Forms application, and Visual Studio 2015.
Web Forms C# download link ##Instructions
###Step 1. Create a new Web Forms application in Visual Studio
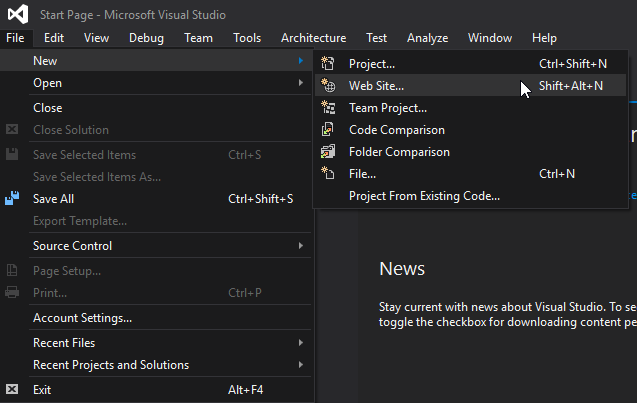
a. In Visual Studio, select File -> New -> Website.
b. In the New Website pop-up choose ASP.NET Web Forms Site in Visual C#.
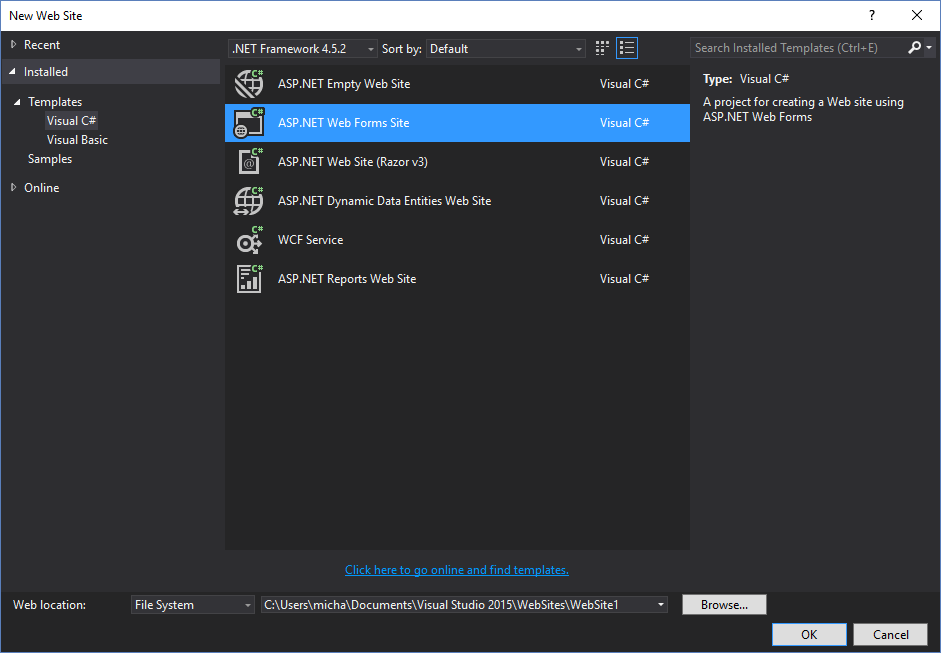
c. Make sure to set your new website's name and folder location. We're going to name our website NewWebsite.

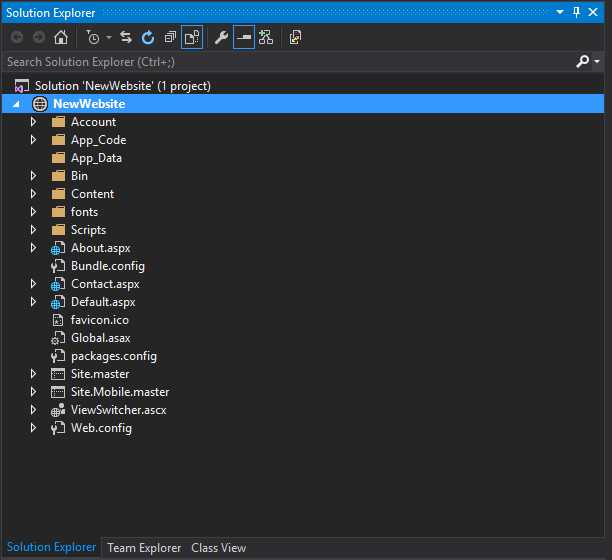
d. Visual Studio will now open the application, and you should see this in your Solution Explorer.
e. Alternatively, you can download the application directly from the following link.
Open the folder as a Website in Visual Studio.
###Step 2. Merge Izenda and NewWebsite files and folders
a. Unzip your Izenda webforms-cs folder, and open both the Izenda directory and the NewWebsite's directory.
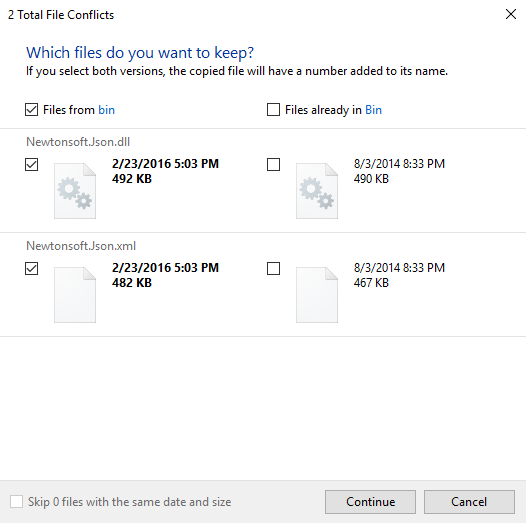
Copy Izenda's bin directory into the NewWebsite's Bin directory.
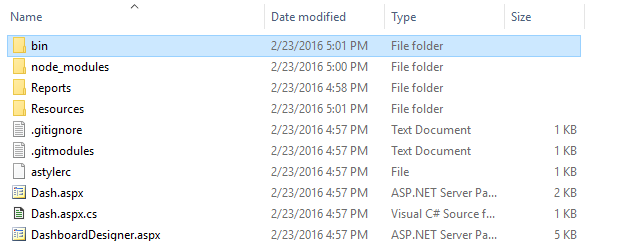
You will get a conflict around the NewtonJSON DLL and its' XML configuration file. Either use the Izenda NewtonJSON DLL and XML file or address the conflicting version issues by implement a strategy to use multiple versions of the same DLL.
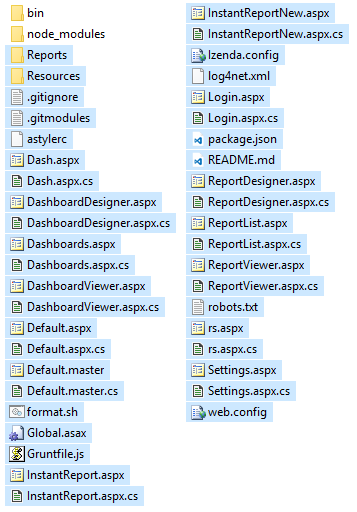
b. Copy Izenda's remaining folders and other miscellaneous files, except for the bin and node__modules.
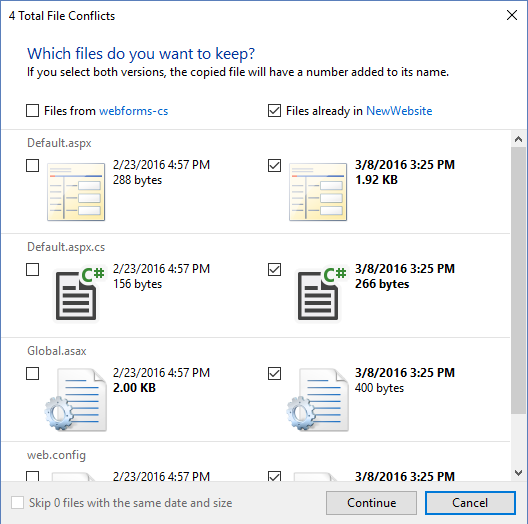
You'll see conflicts for four files:
- Global.asax -This crucial to merge as it contains Izenda's CustomAdHocConfig class and InitializeReporting() method.
- Web.Config - This will contain basic web application configuration settings.
- Default.aspx - This file is simply a placeholder in Izenda. It redirects users to the ReportList page.
- Default.aspx.cs - This is the code file for the above page. It redirects users to the ReportList page.
Keep NewWebsite's files, and discard the Izenda files. We will walk through merging the Global.asax files in the next step.
###Step 3. Merging the Global.asax
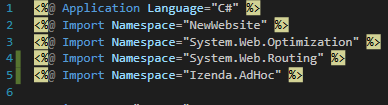
a. Open the Izenda Global.asax and the NewWebsite Global.asax and add the Izenda namespace.
b. Add Izenda's CustomAdHocConfig class.
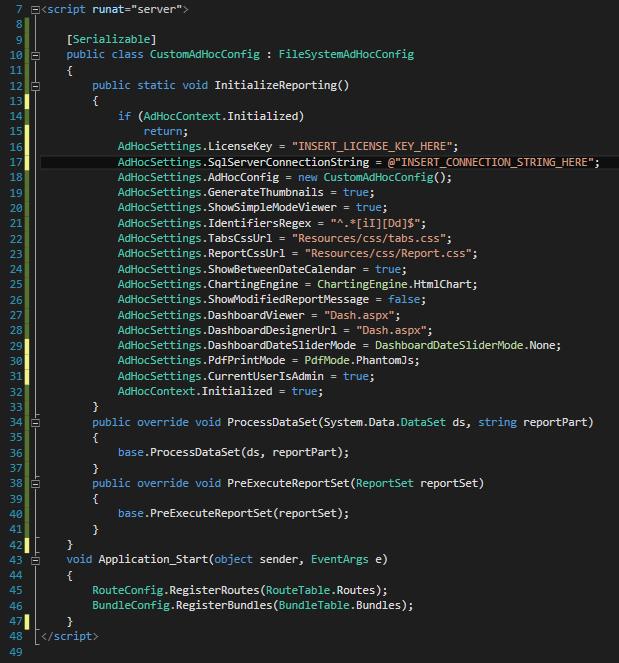
c. If you haven't done so already, empty the contents of your Izenda.config (or leave it out of the merge process entirely) and set your license key and connection string in the InitializeReporting() method.

###Step 4. Set Friendly URL Redirect Mode to Off
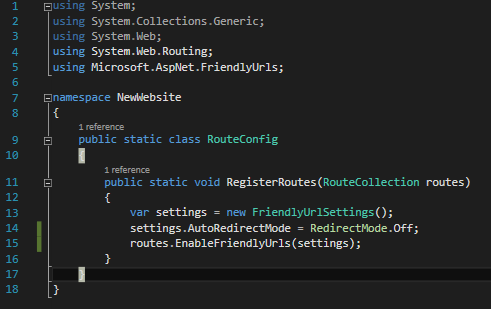
In order to avoid routing issues, you'll need to set the RedirectMode to off. Open \App_Code\RouteConfig.cs and set the RedirectMode as seen below.
###Step 5. Merge Styles and Master pages
At this point all the Izenda pages will run, and function appropriately, from a technical perspective Izenda is integrated with the application, and the whole app will run as one website from one application pool.
The next steps will be to merge the Default.master and Site.master files, and change the Izenda page references.
The basics will be to add Izenda's Default.Master's CSS and JavaScript references to Site.master's head section. You'll then add Izenda's links to the navigation.
Past that you'll need to change each Izenda page to point at the Site.Master instead of the Default.Master.
For each page you'll need to:
*Address CSS and general styling issues. *Address redundant Forms tags. *Address page level CSS issues.