
#Izenda MVC Kit Integration Guide
##About
This guide is designed to instruct first-time users how to integrate Izenda with simple MVC application. This guide will use Izenda mvc5r3 kit, a simple MVC application, which is downloadable at http://wiki.izenda.us/Guides/MVC-Integration/Sample_MVCApp.zip, and Visual Studio Express 2013 for Web.
##Instructions
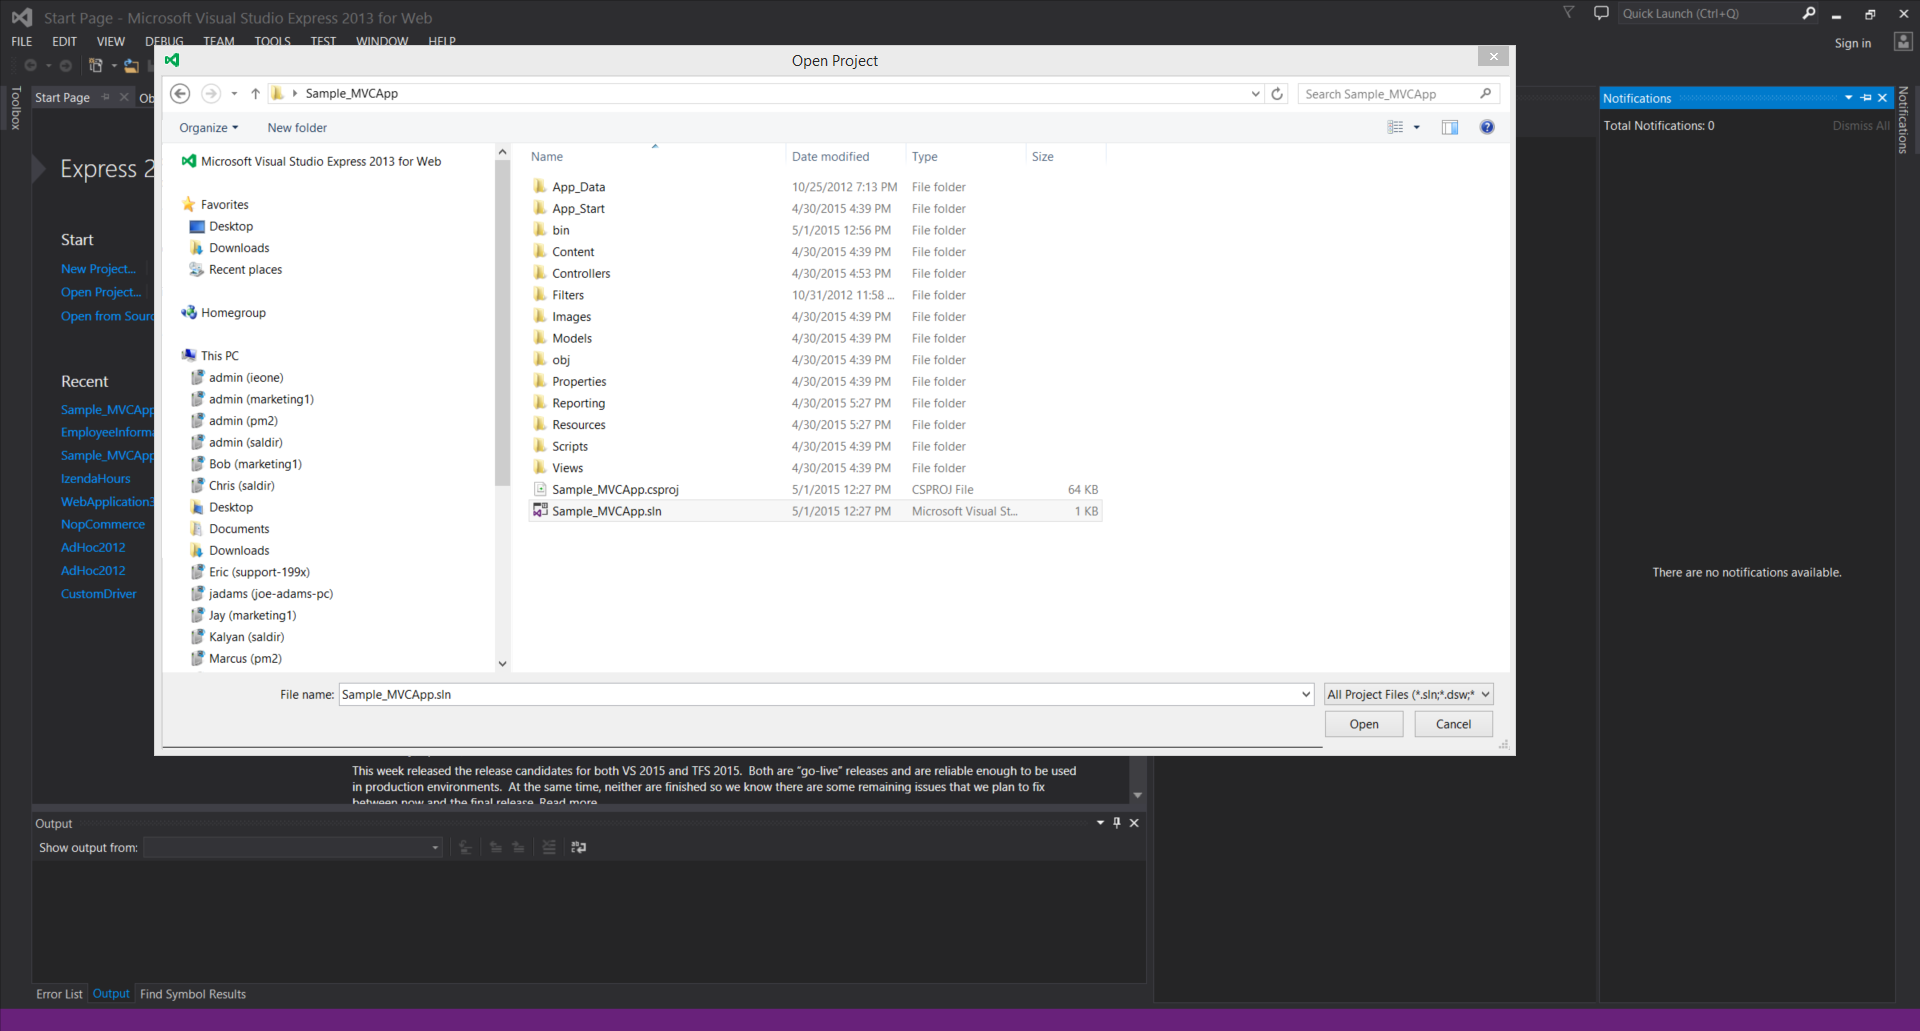
###Step 1. Open the MVC application in Visual Studio
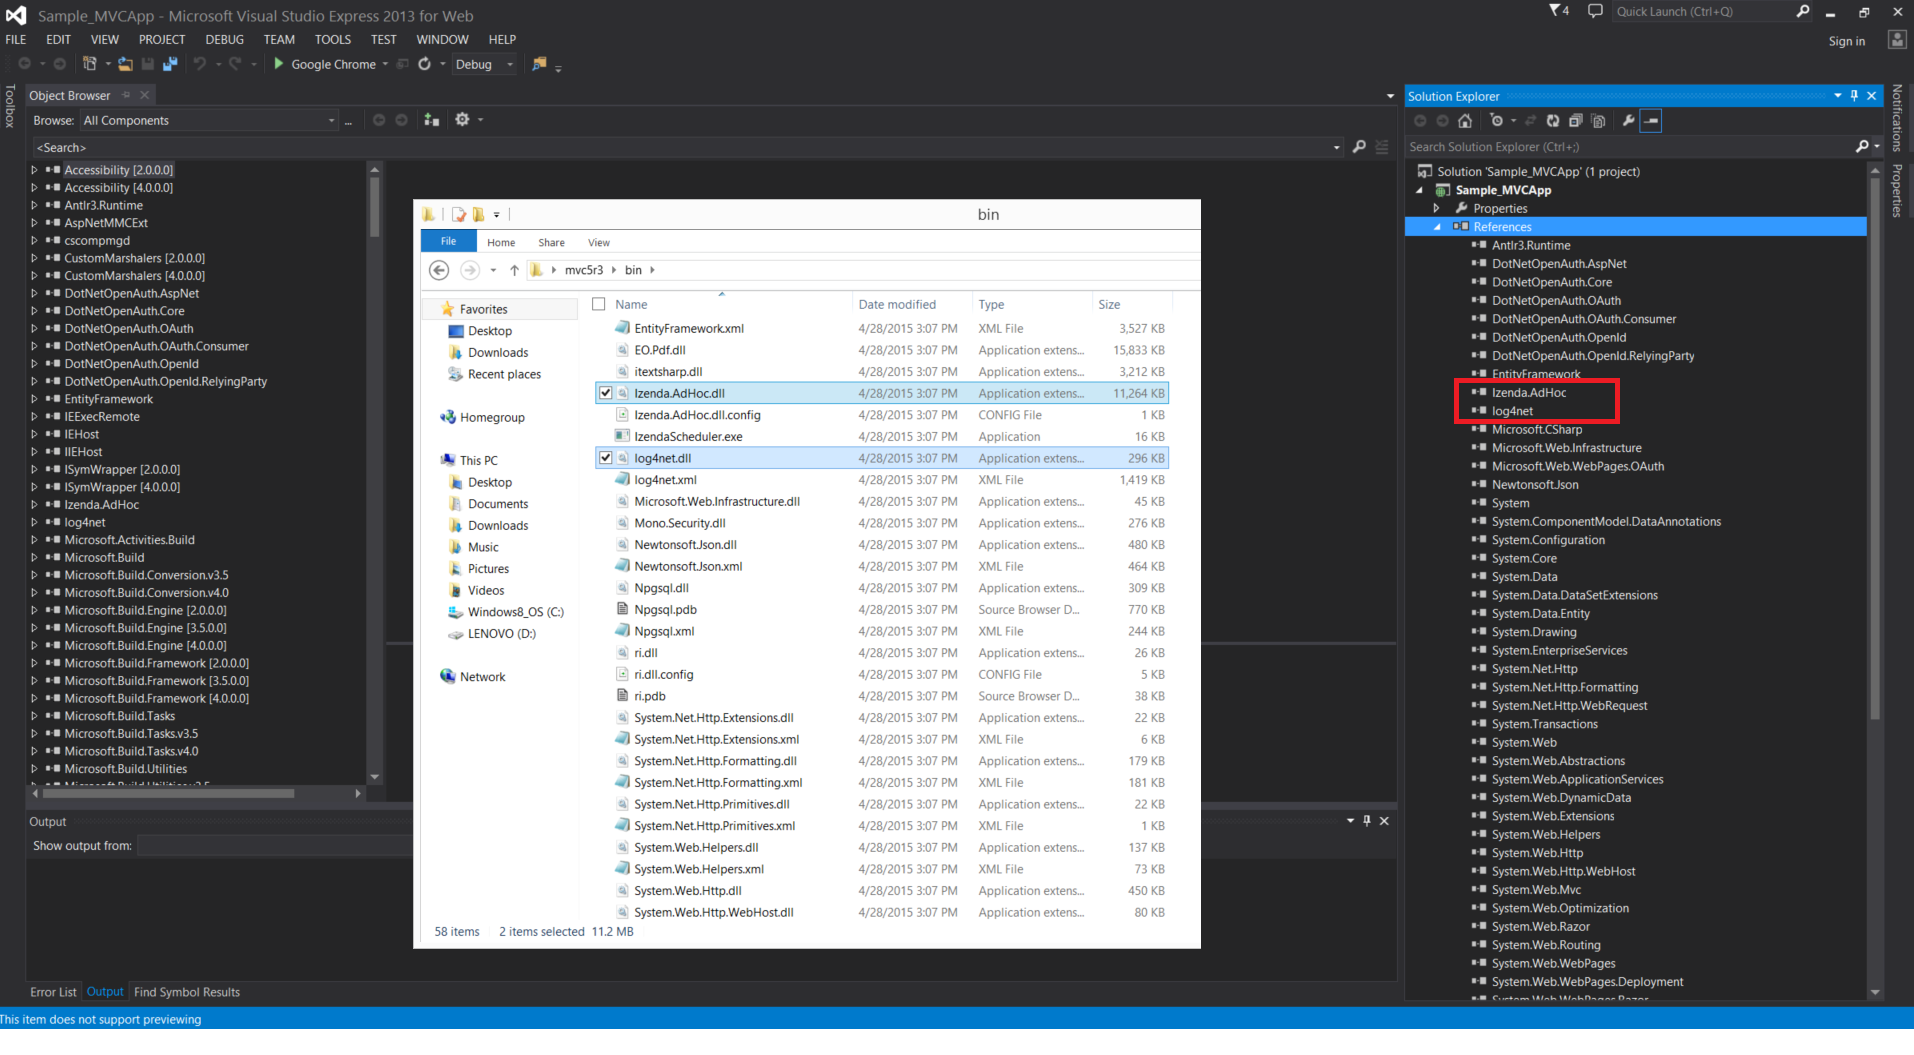
###Step 2. Add Izenda.AdHoc.dll and log4net.dll to the project’s reference
Right click on 'References' under project name in Solution Explorer window, then click 'Add Reference'.
Click the 'Browse' button and browse to \mvc5r3\bin, where Izenda.AdHoc.dll and log4net.dll are. Add them to reference.
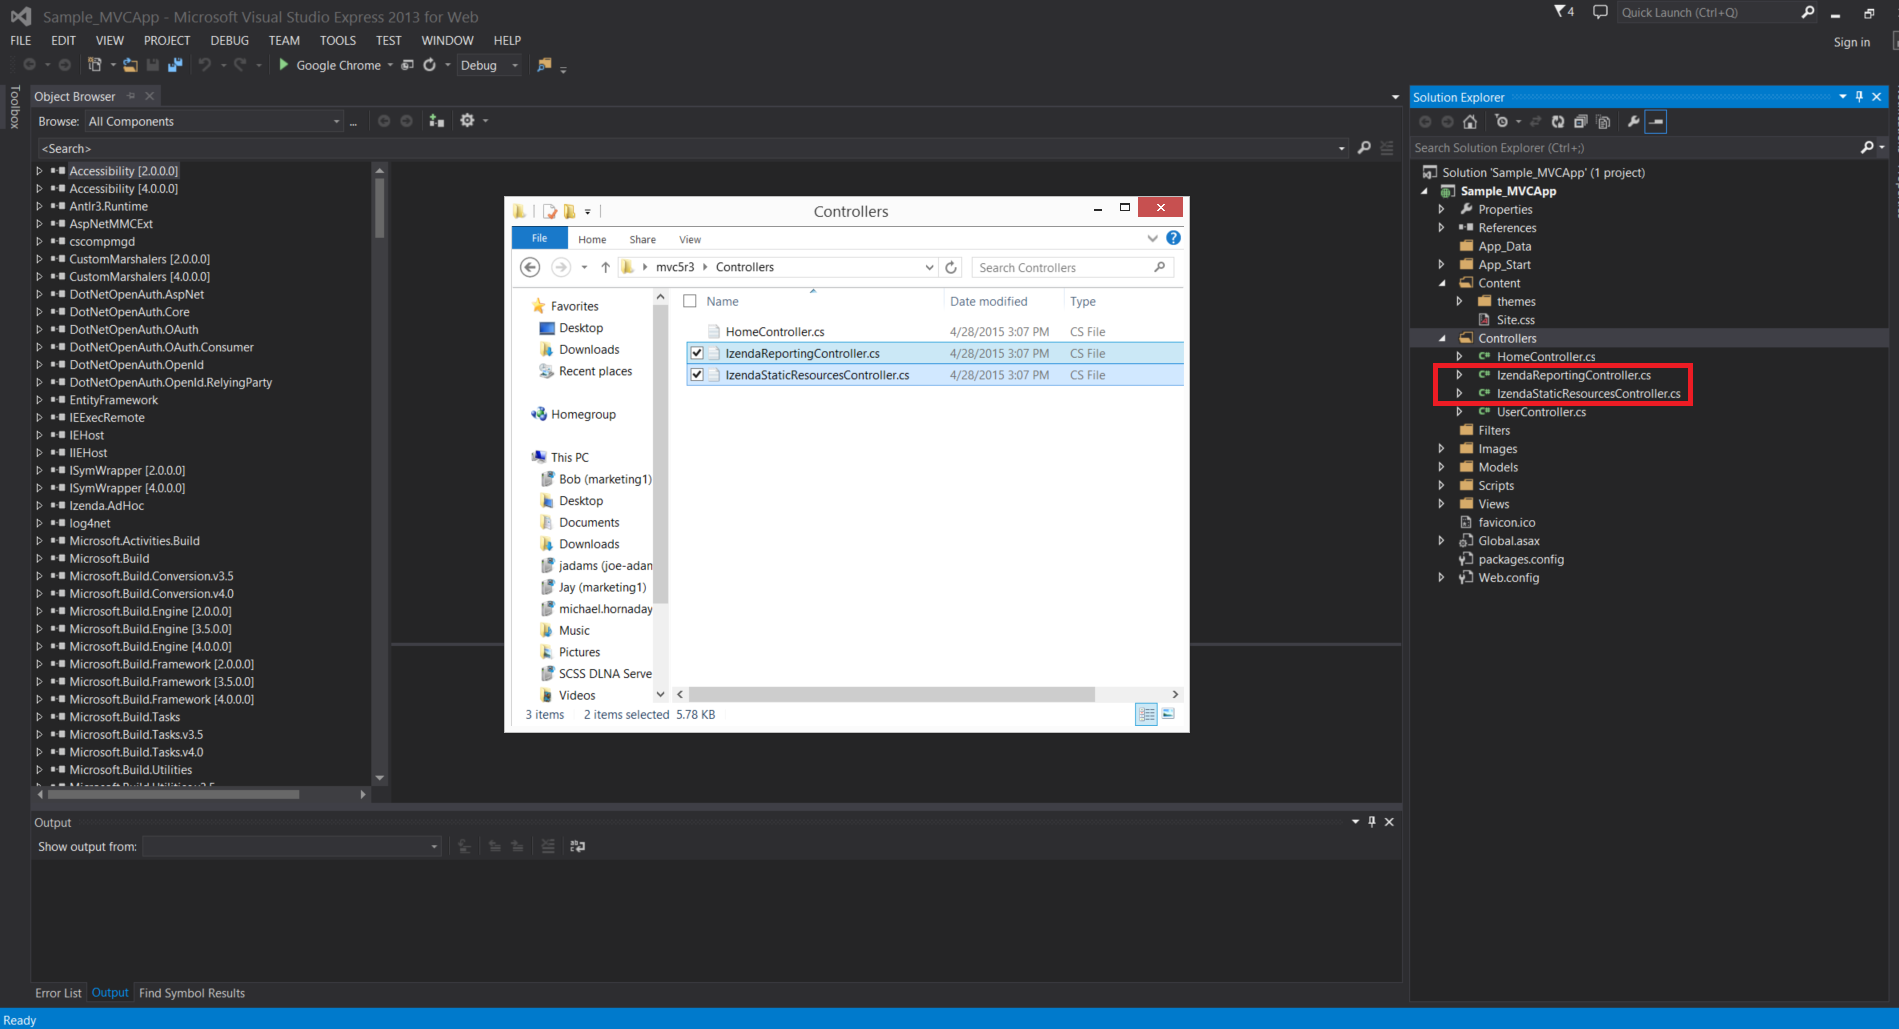
###Step 3. Add IzendaStaticResourcesController.cs and IzendaReportingController.cs to the project
IzendaStaticResourcesController.cs and IzendaReportingController.cs are at mvc5r3\Controllers. Add them under Controllers as below.
Once you have IIS installed, continue with the following:
a. To access IIS Manager (click Start > Control Panel > Administrative Tools > Internet Information Services (IIS) Manager) and add new application or virtual directory under Default Web Site.

b. Select Internet Information Services (IIS) Manager, and open the application.

c. Within Internet Information Services Manager add a new application or virtual directory under Default Web Site. Select drop down arrows, until you see the Default Web Site.

d. Right-click on Default Web Site, and select Add Application. Fill out the Alias text box, and name it Reporting or whatever name you can remember. Once named, select the Select button on the right. Once the drop-down menu appears, select Classic.NET AppPool and OK.

e. Create and choose the Physical Path to the \Reporting\webforms-xx folder and give your website a name. Select the button with the ellipsis (…), and it will allow you to browse for a folder to house the application. Select your C: drive and the Reporting folder.
[Replace 1e. with MVC Screenshot]
f. Before continuing, make sure the site folder ( …\Reporting ) has full permissions for the NETWORK SERVICE user. Make sure the reports folder ( …Reporting\MVC4Razor2\Reporting\Reports ) and Web.config ( …Reporting\MVC4Razor2\Web.config ) have full permissions for the NETWORK SERVICE user also (Right click on MySite\Reporting folder => Properties => Security => Edit… => Add… => Type "NETWORK SERVICE" and press OK => Click 'NETWORK SERVICE' Click 'Allow - Full Control' Click OK=> Click OK).
###Step 4. Change namespaces of IzendaStaticResourcesController.cs and IzendaReportingController.cs to match all other controllers in the application. Ex) if the namespace is in other controller file is ABC.Controllers, then MVC3SK.Controllers -> ABC.Controllers
You can set the license key and database connection in one of two different ways, depending on how much customization you wish to have with Izenda. We will describe the two below.
####InitializeReporting()
The InitializeReporting() method is the ideal place to incorporate your settings since it provides you a high level of control over which settings are applied and the scope of their application. You can learn more by learning how to customize Izenda settings.
####Settings.aspx
Open the website that you just created http://localhost/reporting. You will be redirected to the Settings page. Go to the Database tab and fill the License Key and Connection String fields with real data. You should have received your trial License Key via email. If you have not received a key, please contact your account manager with Izenda or sales@izenda.com.

###Step 5. Add Reporting and Resources folders to the project
Now you are ready to start taking advantage of the opportunities in Izenda’s self-service reporting platform. Open http://localhost/Reporting/ReportDesigner.aspx and create your first report easily!
Select your DataSources at the Data Sources tab. Then go to the Fields tab and select the fields you want to use in the report. There are various options and settings like filters, operators, functions etc. Make sure to check it all out, but for your first report just selecting several fields will be enough.
-For more information about the report designer features please read our user guide

###Step 6. Add Reporting and Resources folders to the project
####Preview and Save report
After you select all the data you want to see in report, click Preview and see the results immediately. Click Save on the tool bar to save your first report report. Categories can be created in the save menu to group reports. Categories self delete when depopulated (empty).

###Troubleshooting
If you encounter any unexpected behaviors or exceptions, simply perform an IISReset, or a refresh of the your Izenda Reports-enabled site. To perform an IIS reset, Click 'START'; type 'cmd' into your search dialogue, right click the program and choose 'Run as Administrator'. In the command prompt type 'iisreset' and hit enter. Be sure to refresh your browser and empty the cache to ensure you see updated pages.

##How to Install Izenda on Windows 2008 with IIS 7
Web Server Setup
Prior to starting, please make sure your system meets the following requirements:
Requirements:
- Microsoft Internet Information Server (IIS) 6 or higher
- ASP.NET 2.0 and Higher
- SQL Server 2000 - 2012, Oracle 9g or higher, MySQL 5 or higher, and a working connection string with proper read permissions to both data and metadata
- Internet Explorer 6.0 or higher, Firefox 1.5 or higher, Chrome, or Opera
Selecting a language and .NET version:
Izenda supports the .NET platform (all versions) for both C# and VB.NET. This is important if any code-level integration is needed. Izenda highly recommends selecting .NET 2.0 and C#. The starter kits referenced above are already configured to use .NET 2.0 and C# or VB.NET respectively.
Permissions:
In order to create and save reports, your application will require the ability to read and write to the Reports folder or the Stored Reports table as well as the Izenda.config file. The application runs under the web server's service account. By default, this account is NT AUTHORITY\NETWORKSERVICE under Windows 2003 and ASPNET under Windows XP. It can be something different if your Administrator has changed it or you are running Microsoft Exchange on the same server. In most cases, it will not have changed.
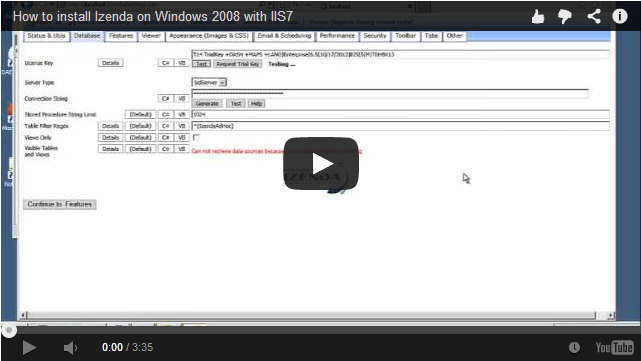
Installation Video:
This video demonstrates a simple install process for Izenda on Windows Server 2008 with IIS 7, connecting to SQL Server 2008 R2. (Redirects to youtube)
##Installing Izenda On Systems With IIS 7.5 or higher
Process:
The process to install on systems with IIS version later than 7.0 is the same as with IIS 7.0 but with the following differences:
Permissions:
IIS 7.5 and higher, the default account is called ApplicationPoolIdentity. You can either allow this account access as opposed to using NETWORKSERVICE, or you can change your DefaultAppPool identity to NETWORKSERVICE.
Troubleshooting:
IIS Management Console: If you cannot find the IIS Management Console, you may need to turn it on. Follow the steps below to turn this feature on.
- Open Control Panel
- Click the "View By" dropdown and select Category
- Click Programs
- Click Turn Windows features on or off
- Expand the Internet Information Services tree
- Expand the Web Management Tools tree
- Check the IIS Management Console checkbox
- Wait for the system to find and install the required files
- Start using the Internet Information Services (IIS) Manager