
#Introduction
#Guide ##Creating a New Dashboard
Click on the arrow to expose the drop down menu under New
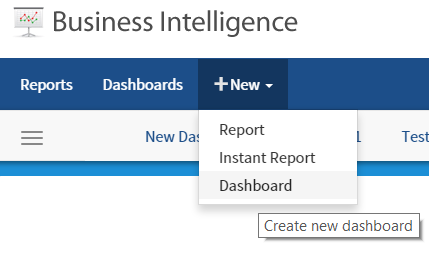 Select Dashboard from the Menu drop down. A New Blank Dashboard will be exposed with a blank tile.
Click on the + sign to add a Report Part to the new Dashboard
Select Dashboard from the Menu drop down. A New Blank Dashboard will be exposed with a blank tile.
Click on the + sign to add a Report Part to the new Dashboard
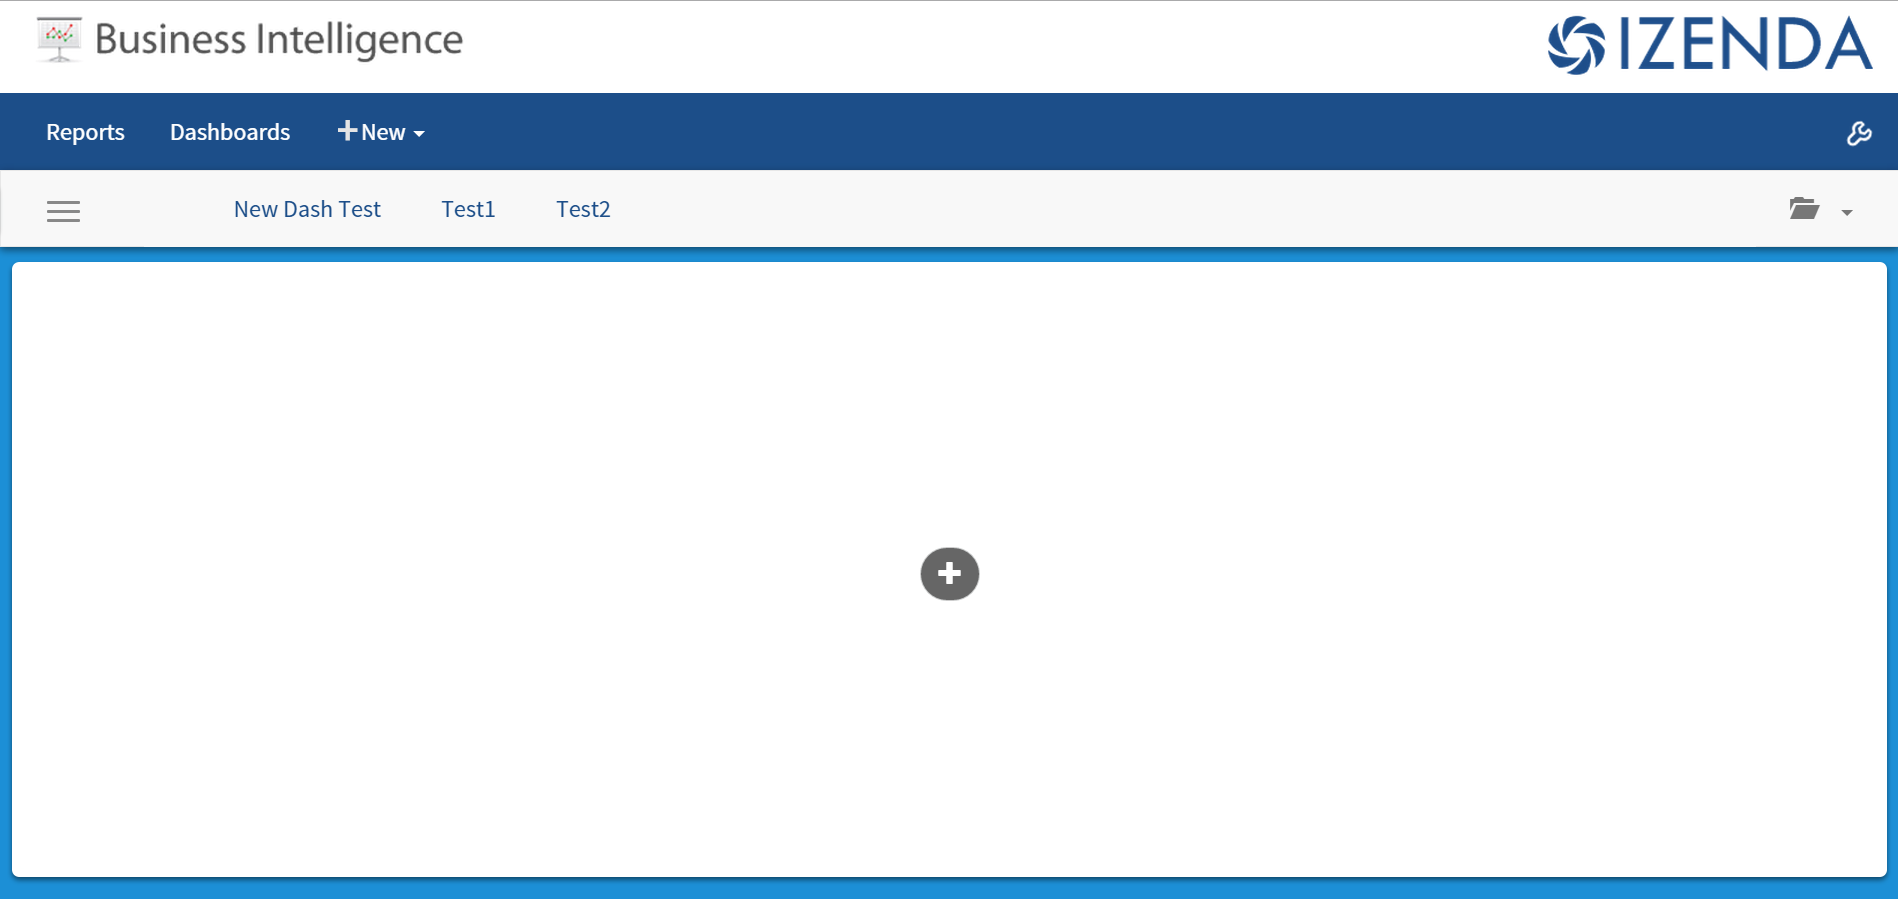 A New window will be displayed allowing you to select the report the user would like to add to the dashboard
##Adding Report Parts to the Dashboard Tile
A New window will be displayed allowing you to select the report the user would like to add to the dashboard
##Adding Report Parts to the Dashboard Tile
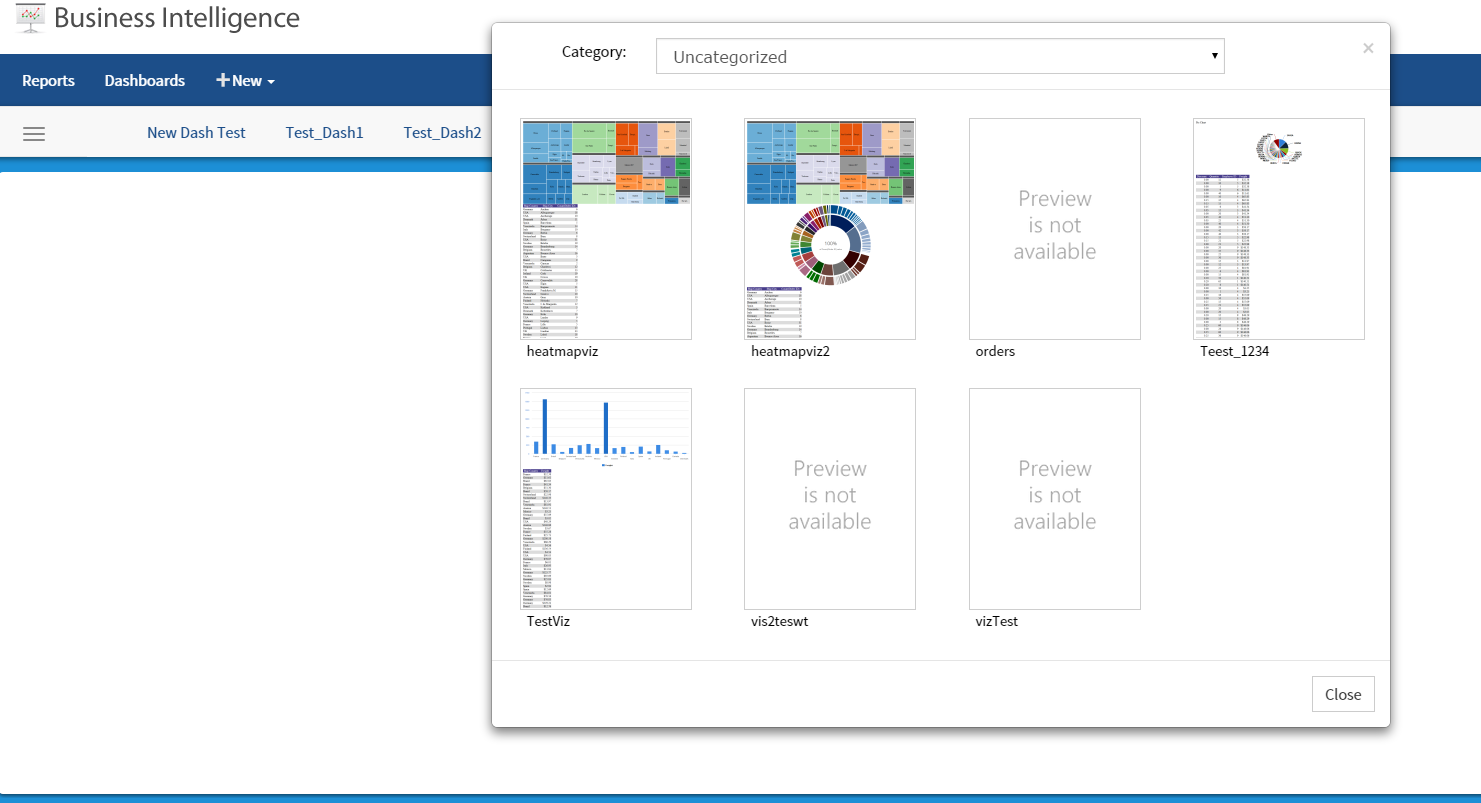 The user can now select a report to use in the dashboard
Once a report is selected, the user is presented with a window displaying all of the report parts as options to add to the new dashboard. These can include charts, maps, summaries or report details.
The user can now select a report to use in the dashboard
Once a report is selected, the user is presented with a window displaying all of the report parts as options to add to the new dashboard. These can include charts, maps, summaries or report details.
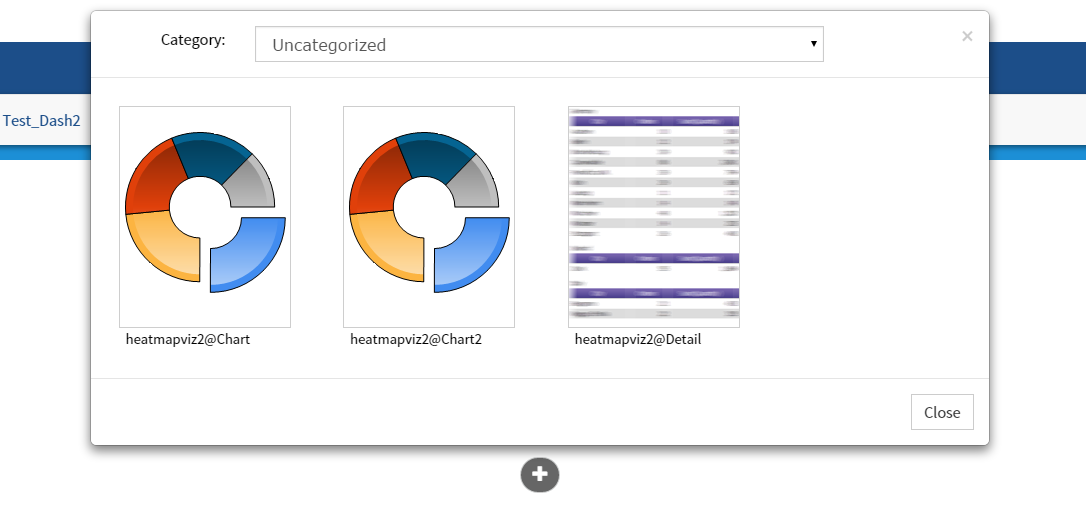
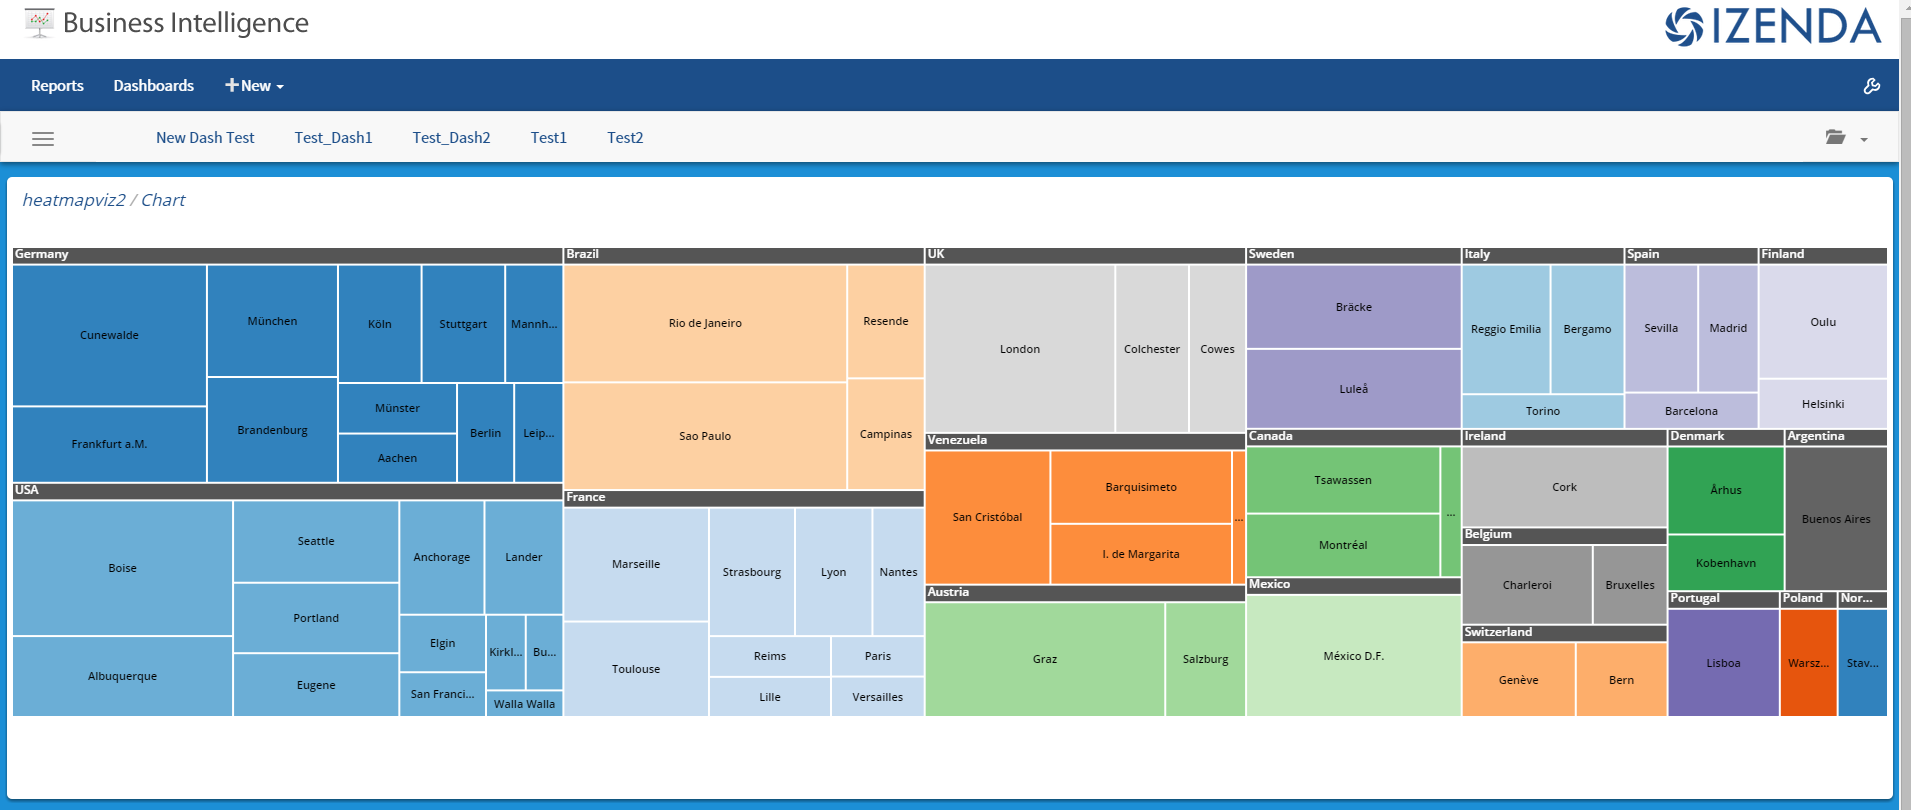 The report part selected will then be displayed to the user.
To add additional tiles to the dashboard, the user can click on a blank area of the dashboard background. A new blank tile will then be displayed.
The report part selected will then be displayed to the user.
To add additional tiles to the dashboard, the user can click on a blank area of the dashboard background. A new blank tile will then be displayed.
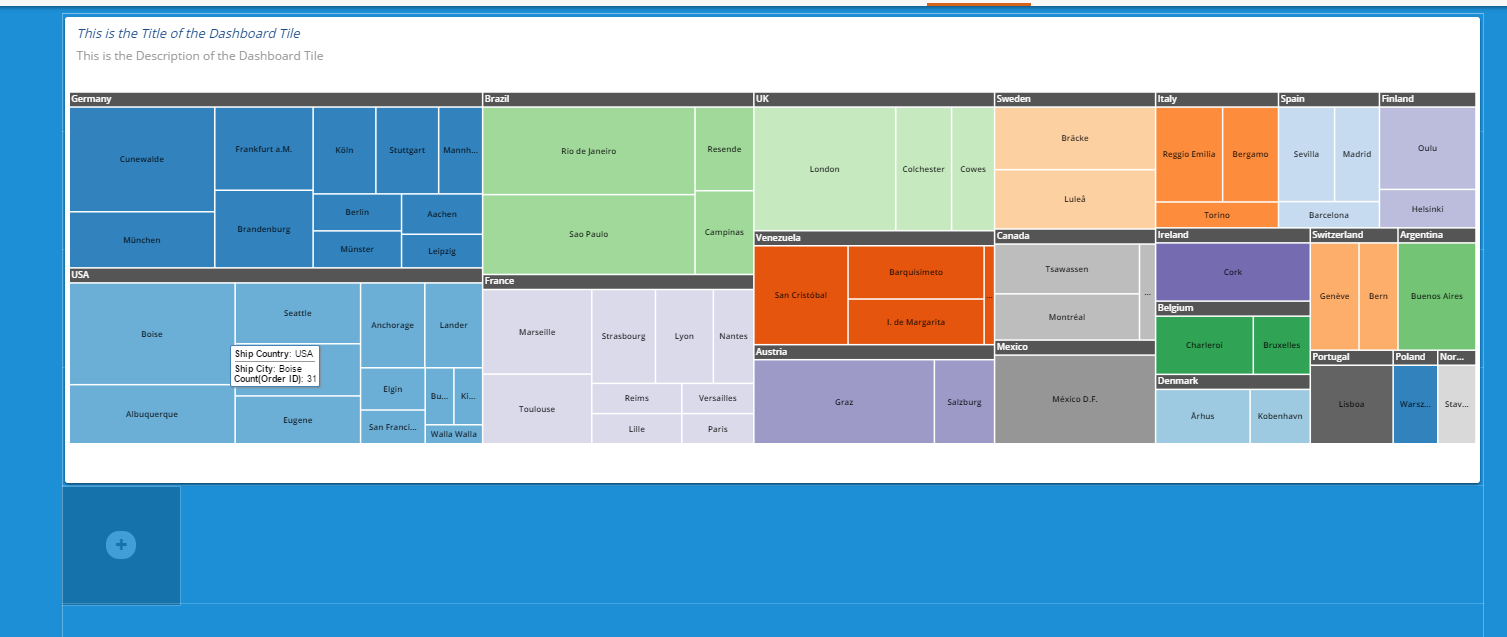
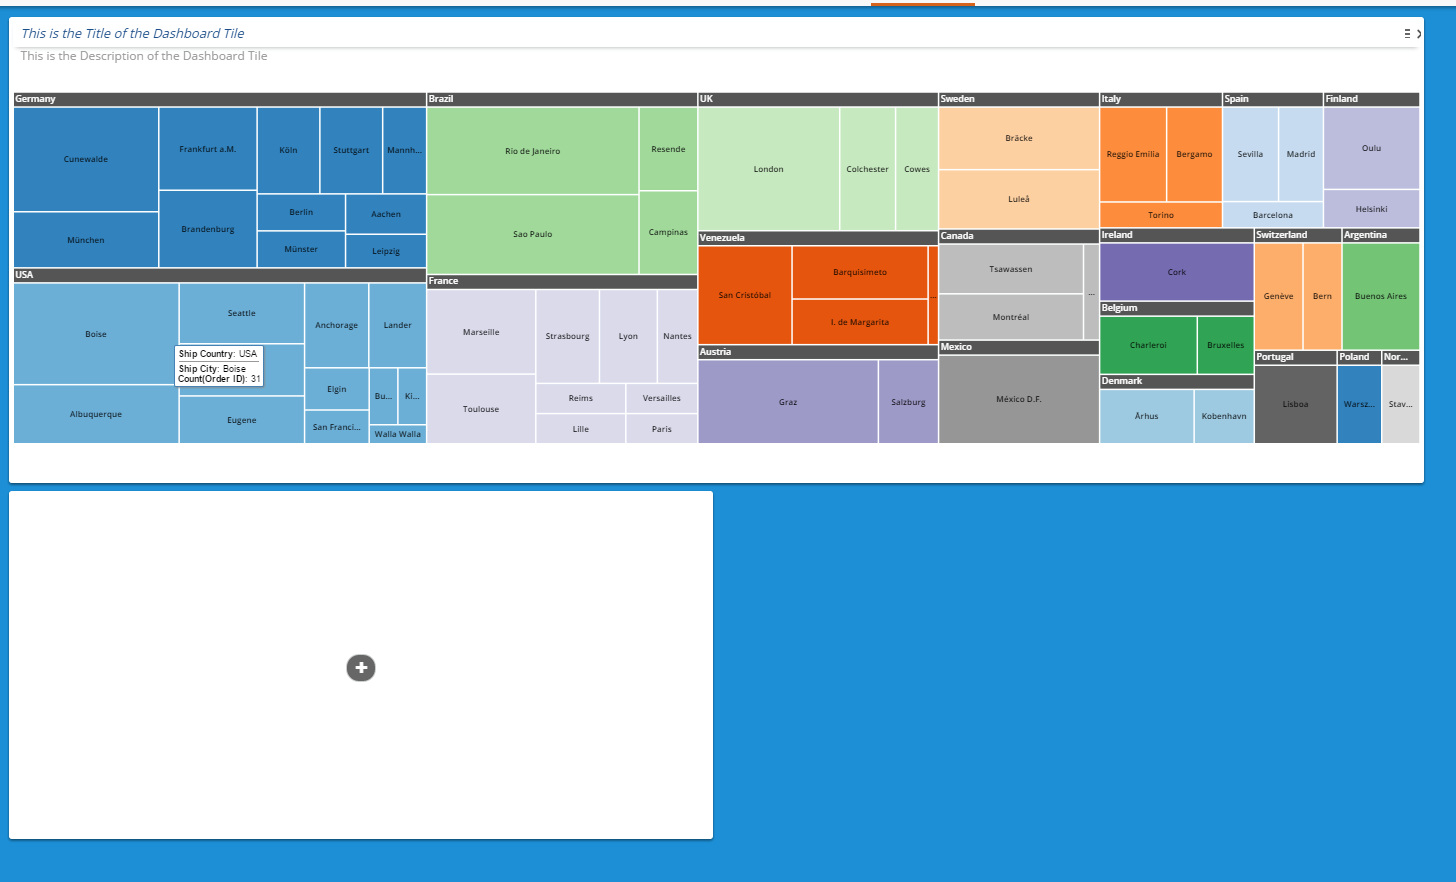 The user can repeat the process to add additional tiles
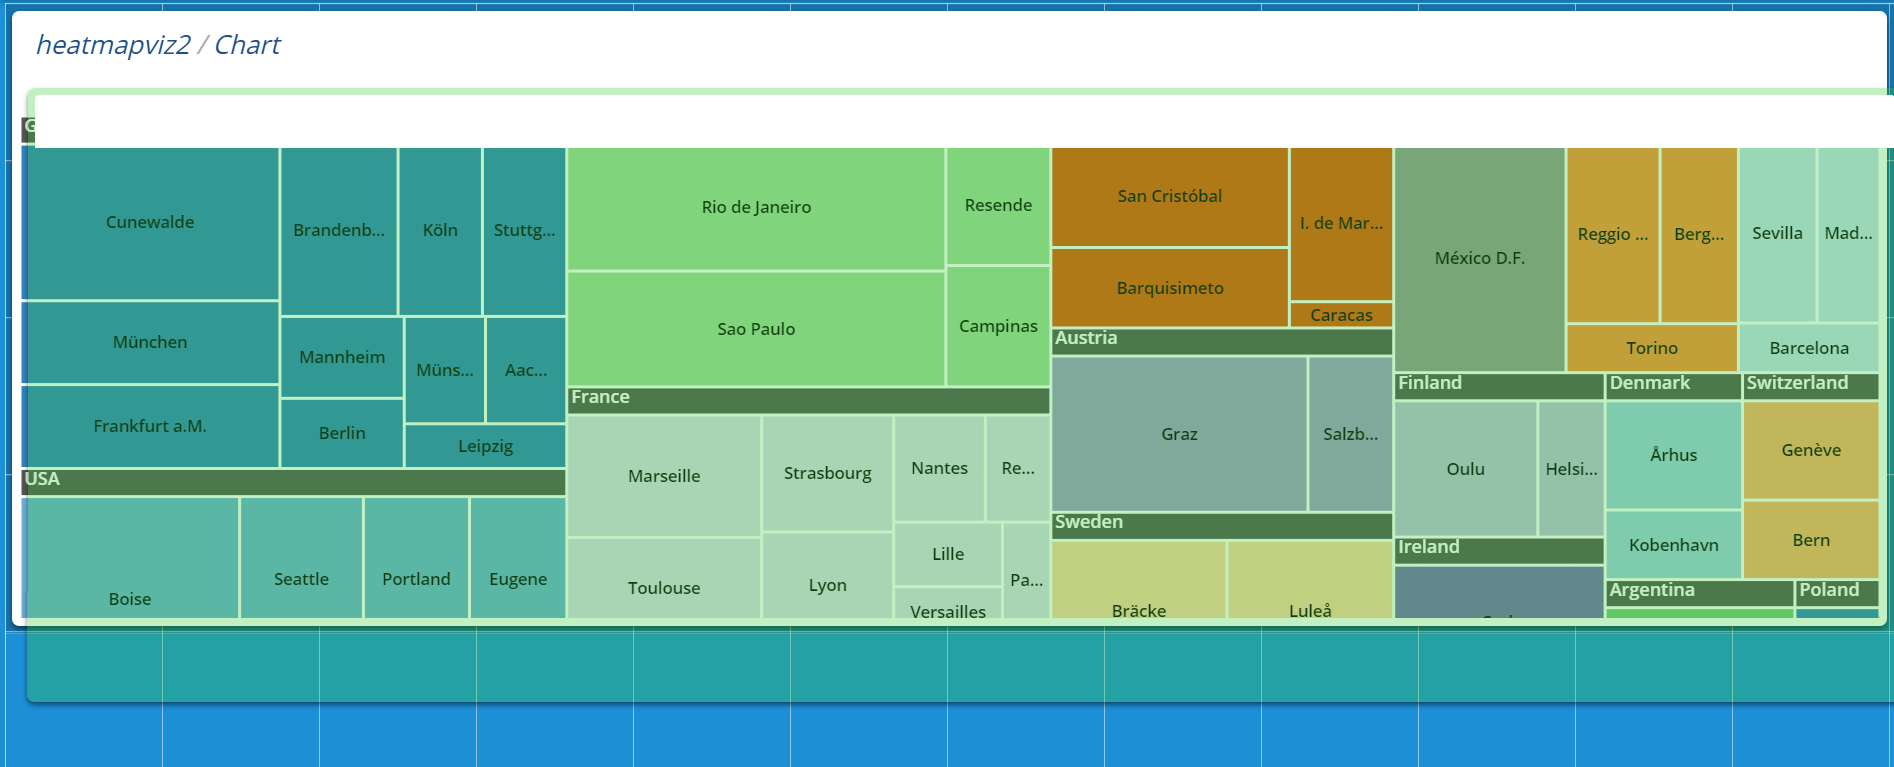
##Moving & Resizing Dashboard Tiles The tiles can be resized by dragging the corners to the desired length or width. Tiles can also be moved around the Dashboard. When the tile shows a green hue, it is positioned correctly and can placed on the grid. If the tile shows a red hue, it is not positioned on the grid properly and cannot be moved.
Properly Positioned Tile for move (green hue)
#Features
#Installation
##Webforms
- Update as normal by downloading and replacing the bin and resources folder
- Download the Webforms Kit and take the Dash.aspx file and copying it to your project.
- In the global, update the dashboard viewer setting to AdHocSettings.DashboardViewer = "Dash.aspx";
##MVC
- Update as normal by downloading and replacing the bin and resources folder
- Download the MVC kit for 6.9 and add the new view to your project
-
Update the IzendaReportingController.cs to include public ActionResult Dash() {
return View(); }
- In the global, update the dashboard viewer setting to AdHocSettings.DashboardViewer = "Dash";